
The short answer
You need a new chimney liner when the existing flue tiles are cracked or crumbling, when you switch fuels or add a new appliance, or when a New York City boiler converts from oil to gas. Our certified technicians inspect the flue with a camera, sweep it, and install and connect a properly sized stainless steel liner with a cap.
A chimney liner is the protective channel inside your flue that carries smoke and exhaust gases up and out of the house. When the original clay tiles crack, the mortar joints wear away, or a new appliance needs a different size flue, the liner stops doing its job. Heat can reach the wood framing around the chimney, and gases like carbon monoxide can find their way into living space. Apex Premier Chimney Services installs stainless steel liners for fireplaces, wood stoves, inserts, and oil and gas appliance flues. We work with homeowners in New York and nearby cities. Below you'll find the signs of a liner problem, what an installation includes, how our certified technicians work in your home, and how a visit runs from start to finish.
Signs you need a new chimney liner
Most liner damage is hidden inside the flue, but it usually leaves clues you can see or smell in the house.
If you notice any of these, stop using the fireplace or appliance until the flue has been inspected. A camera look inside usually shows whether the existing liner can be repaired or needs to be replaced.
- Pieces of clay tile, crumbled mortar, or brick flakes landing in the firebox or at the cleanout door
- A smoky or sharp creosote smell, especially on humid days or when the fireplace isn't in use
- Poor draft: smoke rolling back into the room, or a stove that is hard to keep burning
- White staining on the outside brick, a sign that moisture is moving through the masonry
- Water in the firebox or rust on the damper after rain
- A boiler or water heater converting from oil to gas, or a new insert or stove going into an old fireplace
What's included in a liner installation
Every job is sized to your appliance and chimney, but a standard installation covers the same core steps.
- Camera inspection of the existing flue before any work starts
- Sweeping the chimney to remove creosote, soot, and loose debris
- Measuring the flue and matching the liner diameter to the appliance's venting requirements
- Removing broken clay tiles where needed to make room for the new liner
- Installing a stainless steel liner from the appliance connection to the top of the chimney
- Insulating the liner where clearances or the appliance call for it
- Fitting a top plate and rain cap to keep out water and animals
- Connecting the liner to the stove, insert, boiler, or water heater
- A final draft check and camera pass to confirm the liner is seated and clear
- Photos and a written summary of the work
How our crew works inside your home and on the roof
Inside, technicians lay drop cloths from the entry door to the fireplace or appliance and seal off the opening before sweeping. A HEPA vacuum runs throughout the job to capture fine soot so it doesn't drift into the room. Rotary brushes clean the flue walls before we assess the old liner, and a chimney camera lets us see cracks, gaps, and offsets that can't be seen from below. We'll show you the footage so you understand what we found and why we're recommending the work.
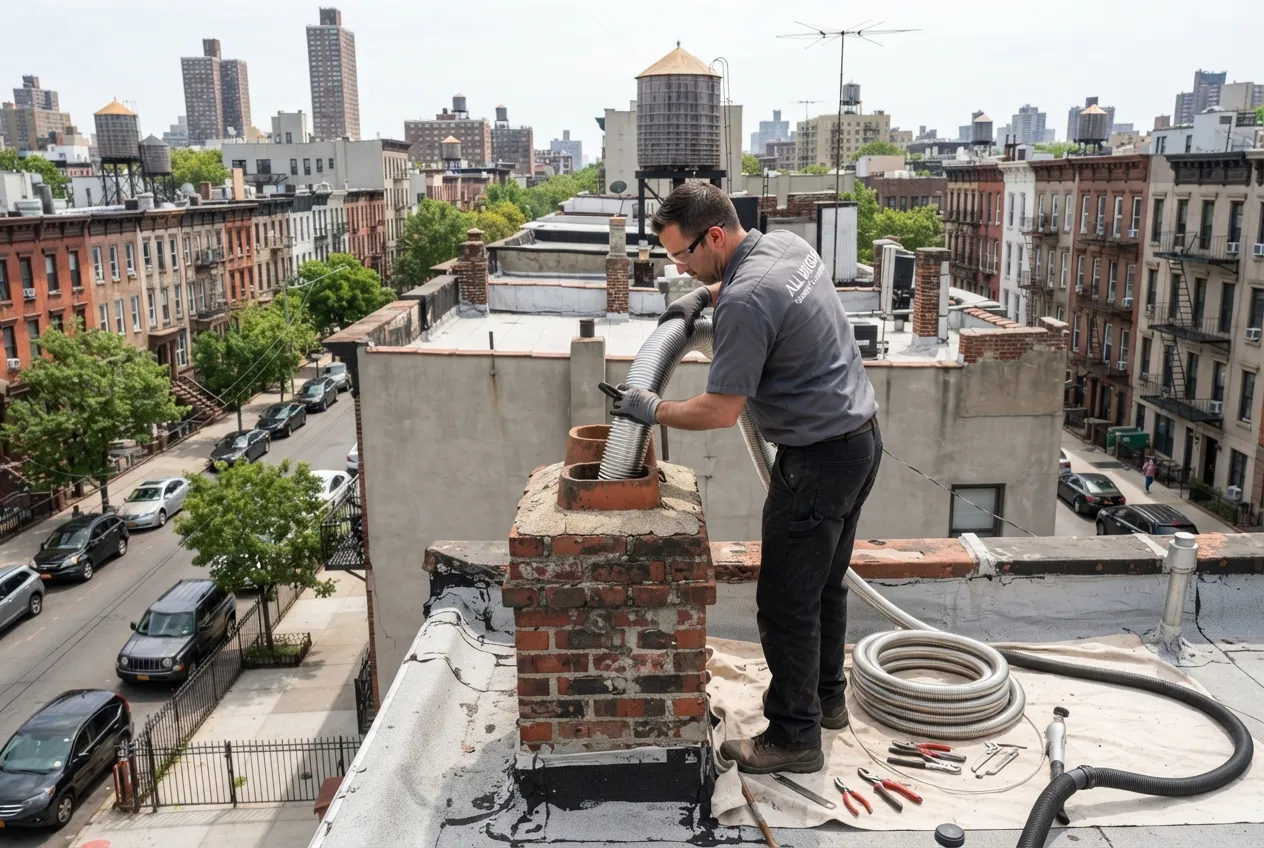
On the roof, the crew uses ladders and fall protection suited to the pitch and height of your home. The new liner is fed down from the top, then secured with a top plate and cap. For row houses and homes with shared or hard-to-reach roofs, we plan access ahead of time and let you know if neighbors or building staff should be told we'll be up there.
The standard we follow
Our work follows NFPA 211, the national standard for chimneys, fireplaces, and vents, which calls for these systems to be inspected once a year. Chimney professionals use three inspection levels. A Level 1 inspection is used when nothing about the system has changed. A Level 2 inspection is used when the system changes, such as a new appliance or a switch of fuel, or when a home is sold. A Level 3 inspection is needed when a hidden hazard can only be reached by opening part of the chimney or the building. Because a new liner usually goes along with a new appliance or a fuel change, liner work typically starts with a Level 2 inspection.
In New York City, converting a boiler from oil to gas means the chimney has to be evaluated as part of the project. A new liner is often needed, because gas exhaust produces acidic condensate that can corrode a masonry flue. The city's heat season runs from October 1 through May 31, so it helps to schedule liner work in late spring or summer and have the heating system ready well before October.
What affects the cost
No two chimneys are the same, so we price liner installation after we've seen the flue. These are the main factors:
After the inspection, you get a written quote that spells out the scope before any work begins.
- Chimney height and how easy the roof is to reach
- Fuel type and the appliance being vented: wood, gas, or oil
- Flue size, shape, and the condition of the existing tiles
- How much creosote or soot has to be cleared first
- Whether old tiles must be broken out to fit the liner
- Whether insulation, a new cap, or masonry repair is needed
- Whether a camera inspection or additional repair is part of the job
How a visit works
First, you book an appointment and tell us what appliance the chimney serves and what you've noticed: smells, debris, water, or a planned fuel change. If you're converting from oil to gas, let us know who your heating contractor is so we can coordinate.
On inspection day, a certified technician protects the work area, sweeps the flue, and runs a camera through it. We walk you through the footage, explain whether the liner can be repaired or should be replaced, and give you a written quote.
On installation day, the crew sets up drop cloths and HEPA vacuums inside, works from the roof to lower and secure the liner, and connects it to your appliance. Before we leave, we test the draft, do a final camera pass, clean up, and send you photos and a summary of the work. From then on, plan on a yearly inspection to keep the new liner in good shape.
Chimney Liner Installation by city
- Chimney Liner Installation in SoHoLocal service & repairs
- Chimney Liner Installation in Little ItalyLocal service & repairs
- Chimney Liner Installation in Hudson SquareLocal service & repairs
- Chimney Liner Installation in Greenwich VillageLocal service & repairs
- Chimney Liner Installation in TribecaLocal service & repairs
- Chimney Liner Installation in Civic CenterLocal service & repairs
- Chimney Liner Installation in West VillageLocal service & repairs
- Chimney Liner Installation in ChinatownLocal service & repairs
- Chimney Liner Installation in Two BridgesLocal service & repairs
- Chimney Liner Installation in East VillageLocal service & repairs
- Chimney Liner Installation in Lower East SideLocal service & repairs
- Chimney Liner Installation in GramercyLocal service & repairs